Application
BlueLEVEL Type 113 + 117
MONITORING A GENERATOR IN A POWER STATION
Subject:
The operator of a power station wants to ensure that the mechanical strain on the generators remains within the tolerances even during significant changes of power level.
Measuring task:
Permanent monitoring of the structure of generator at all critical positions.
--------------------------------------------------------
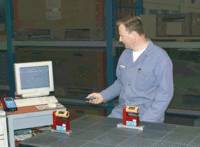
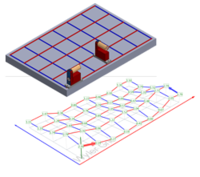
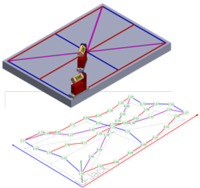
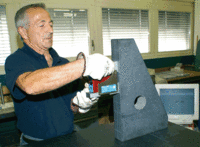
CALIBRATION OF SURFACE PLATES (FLATNESS)
Subject:
The quality of granite references like surface plates, straight edges or squares must be checked and certified regularly.
Measuring task:
The measurement and calibration of granite master squares and surface plates should be performed efficiently.
--------------------------------------------------------
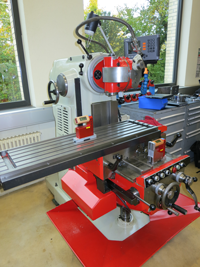
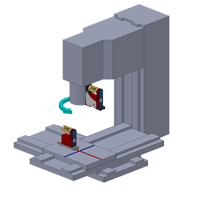
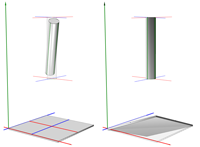
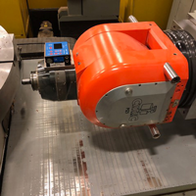
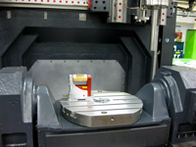
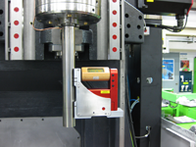
MACHINE TOOLS / CHECKING OF ROTATION ERRORS
Subject:
Machine tools must be checked periodically for geometrical deviations, since changes of the geometry have a direct influence on the quality of the parts manufactured on that machine.
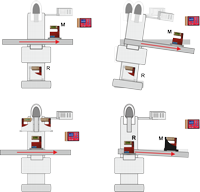
It is very important that during the displacement in one axis the tool will follow a straight path compared to the table. On machines of light-weight construction the table can show a deformation due to its own weight.
If the complete machine construction is tilting during the displacement of the table this is a sign for insufficient stability of the foundation or for a flexibility of the stand (damping elements).
Measuring task:
The geometry of a machine tool must be verified. The check must show rotational errors of the table during displacement. The measurement should be made reliably and efficiently.
--------------------------------------------------------
MEASUREMENT OF THE ABSOLUTE POSITION OF A Guideway
Subject:
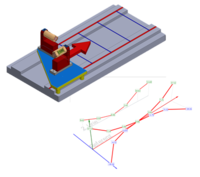
The straightness of a guide way can be measured very easily and very precisely with the software wylerSPEC. Since the straightness is independent of the absolute position of the guide way in space, it is enough to measure “relative”. On the other hand, when adjusting a machine, it can be very helpful to know the exact position of the guide way in space.
Measuring task:
For a guide way, not only its straightness but also its deviation from the horizontal plane shall be measured. Furthermore, it should be shown where and how much the guideway should be corrected to adjust it horizontally.
--------------------------------------------------------
LARGE GRINDING MACHINE WITH FLAT GUIDEWAYS
Subject:
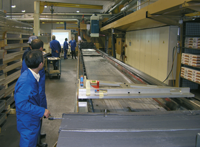
A manufacturer of large metal plates has several large surface grinding machines in his workshop. The geometry of these machines must be checked and documented periodically, and, where required, to be corrected.
Measuring task:
On a surface grinding machine with 18-meter-long guideways, set 1.3m apart, the parallelism of the two guideways must be checked periodically. The guideways must be within a plane with a maximum tolerance (error) of less than 0.1 mm. The complete machine and its guideways can be adjusted by means of supporting screws placed at 750 mm intervals.
--------------------------------------------------------
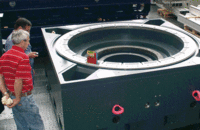
FLATNESS MEASUREMENT ON A CIRCULAR SUPPORT OF A TURN TABLE
Subject:
Module 4 of the software wylerSPEC allows users to determine the flatness of a rectangular surface very easily. The measurement of the flatness of a circular support though, as it is used for large machine tools, is much more complex.
Measuring task:
The flatness of a circular support with a diameter of 2.3m must be determined.
--------------------------------------------------------
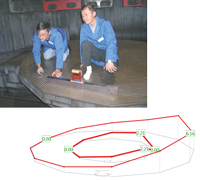
MEASUREMENT OF A CIRCLE ON A ROUND TABLE OF A GRINDING MACHINE
Subject:
A manufacturer of large metal plates has several large surface grinding machines in his workshop. The geometry of these machines must be checked and documented periodically, and, where required, to be corrected.
Measuring task:
The flatness of a rotating table of a grinding machine with a diameter of 3200 mm must be measured. Thereby only the flatness of a circle must be measured and not the whole table.
--------------------------------------------------------
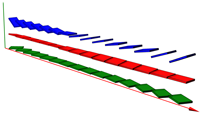
MEASUREMENT OF PITCH AND ROLL ON A GRINDING MACHINE
Subject:
A manufacturer of large metal plates has several large surface grinding machines in his workshop. The geometry of these machines must be checked and documented periodically, and, where required, to be corrected.
Measuring task:
On a large surface grinding machine with guide ways with a length of 18m pitch and roll must be checked. The maximum tolerance is 0.1 mm/m.
--------------------------------------------------------
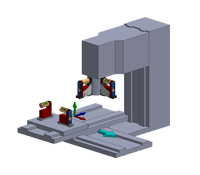
MEASUREMENT OF THE RECTANGULARITY OF THE HEAD OF A ROUND TABLE GRINDING MACHINE
Subject:
A manufacturer of large metal plates has several large surface grinding machines in his workshop. The geometry of these machines must be checked and documented periodically, and, where required, to be corrected.
Measuring task:
The rectangularity of the axis of a grinding head of large grinding machine in relation to the bearing of a round table with a diameter of 3200 mm must be measured. Based on the results, if necessary, the inclination of the head must be adjusted.
--------------------------------------------------------
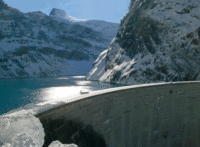
DAM MONITORING
Subject:
The requirements regarding long term monitoring of dams are continuously increasing. Where it was enough earlier to carry out periodic measurements, today more and more permanent monitoring is required.
Measuring task:
The changes in inclination in both directions (mountain <-> mountain and water <-> air) of a dam shall be monitored continuously.
--------------------------------------------------------
EFFICIENT CHECKING OF THE ALIGNMENT OF A MACHINE / CASE 1 + 2
Subject:
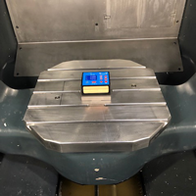
Customers often have the need to verify whether a machine is still in tolerance after e.g. a crash or during the yearly maintenance on the machine.
Calling in an external technician might be too cumbersome, too time consuming or too costly.
Measuring task:
Efficient checking of the machine.
--------------------------------------------------------
MEASURING - CALIBRATION / FLATNESS MEASUREMENT, ANGLES
Subject:
The quality of granite references like surface plates, straight edges or squares must be checked and certified regularly.
Measuring task:
The measurement and calibration of granite master squares and surface plates should be performed efficiently.

 The BlueLEVEL can be delivered with an internationally recognised Calibration Certificate against a surcharge.